T4 Pro Installation Manual: Overview
The T4 Pro installation involves verifying package contents‚ ensuring safety with power shut-off‚ and mounting the UWP system.
Batteries and wiring are crucial steps‚ followed by thermostat attachment and initial configuration for optimal performance.
Package Contents Verification
Before beginning the installation process‚ carefully verify the contents of the T4 Pro package to ensure all necessary components are present. The standard package includes the T4 Pro Thermostat itself‚ alongside the UWP™ Mounting System for secure wall placement.
Additionally‚ you should find a Honeywell Standard Installation Adapter (J-box adapter) for compatibility with existing electrical boxes. A Honeywell Decorative Cover Plate – Small (4-49/64 in x 4-49/64 in x 11/32 in) is also included for aesthetic finishing.
Confirm the presence of the required screws and wall anchors‚ as well as two AA Batteries for initial power. Finally‚ ensure the Installation Instructions and User Guide are included for a smooth and informed setup. Note that the optional cover plate is included for specific mounting scenarios.
Safety Precautions & Power Shut-Off
Prior to commencing any installation work on the T4 Pro thermostat‚ prioritizing safety is paramount. The very first step‚ and a non-negotiable precaution‚ is to completely turn off the power supply at the breaker box or main switch.
This eliminates the risk of electrical shock during the wiring and mounting procedures. Ensure the power is disconnected before handling any wires or components;
Double-check that the power is off using a non-contact voltage tester to confirm a safe working environment. Failure to disconnect power could result in serious injury or damage to the thermostat and your home’s electrical system. Always exercise caution and follow these safety guidelines diligently.
Mounting System Installation
Proper mounting utilizes the UWP™ system‚ with optional cover plates for aesthetics or covering gaps.
Junction box adapters ensure secure attachment‚ and leveling is key for a professional installation.
UWP™ Mounting System Installation
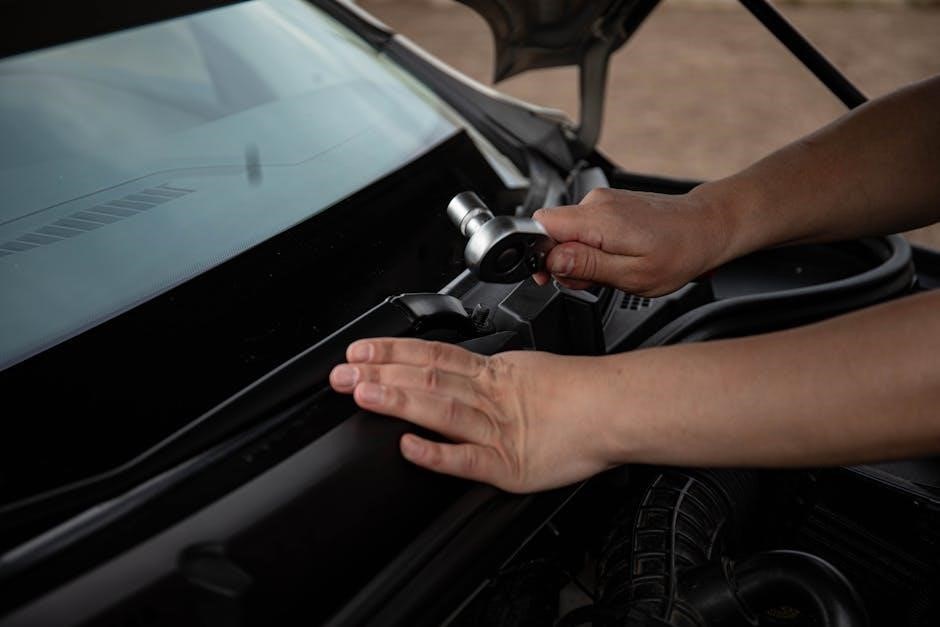
Before beginning‚ disconnect power at the breaker. Locate the UWP within the package. Position the UWP against the wall‚ ensuring it’s level‚ and carefully mark the positions for the mounting holes.
Utilize a drill to create 7/32” holes for drywall installations. Gently tap the supplied wall anchors into these drilled holes using a hammer‚ securing their placement.
Open the UWP’s door to access the wiring hole. Thread the necessary wires through this opening before proceeding with mounting. Align the UWP over the installed wall anchors. Finally‚ insert and tighten the provided mounting screws‚ being careful not to overtighten them‚ to firmly secure the UWP to the wall.
Optional Cover Plate Usage
The optional cover plate serves two primary purposes: concealing imperfections and providing a finished aesthetic. Utilize it when mounting the thermostat directly onto an electrical box or when needing to cover any paint gaps left from a previously installed thermostat.
Begin by separating the Junction Box Adapter from the Cover Plate itself. Mount the Adapter to the wall or electrical box using the eight available screw holes‚ employing the screws supplied with the Cover Plate Kit.
Avoid overtightening the screws. Once the Adapter is securely in place‚ snap the Cover Plate onto the Junction Box Adapter‚ completing the installation and achieving a clean‚ professional look.
Junction Box Adapter Mounting
Prior to commencing installation‚ ensure power is completely shut off at the breaker box or switch for safety. Begin by detaching the Junction Box Adapter from the accompanying Cover Plate. This adapter facilitates mounting to either a wall or a standard electrical box.
Utilize any of the eight provided screw holes on the adapter to secure it to the desired surface. Employ the mounting screws included within the Cover Plate Kit‚ tightening them firmly but avoiding overtightening to prevent damage.
Crucially‚ verify the Adapter Plate is level before proceeding to the next installation step. A level adapter ensures proper thermostat alignment and functionality.
Adapter Plate Leveling
Achieving a perfectly level Adapter Plate is paramount for correct thermostat operation and aesthetic appearance. After mounting the Junction Box Adapter‚ carefully assess its alignment using a level tool. Any deviation from level will impact the thermostat’s functionality and visual appeal.
Adjust the adapter’s position as needed‚ slightly loosening the mounting screws to allow for minor adjustments. Re-check the level after each adjustment until a perfectly horizontal plane is achieved. Once level‚ securely retighten all mounting screws.
A level adapter ensures the UWP and subsequently the thermostat‚ will sit flush against the wall‚ providing a professional and accurate installation.

Wiring & Connections
Proper wiring is essential for T4 Pro functionality. Access the wiring hole on the UWP‚ carefully insert wires‚ and reference the specific model’s wiring diagram.
Accessing Wiring Hole on UWP
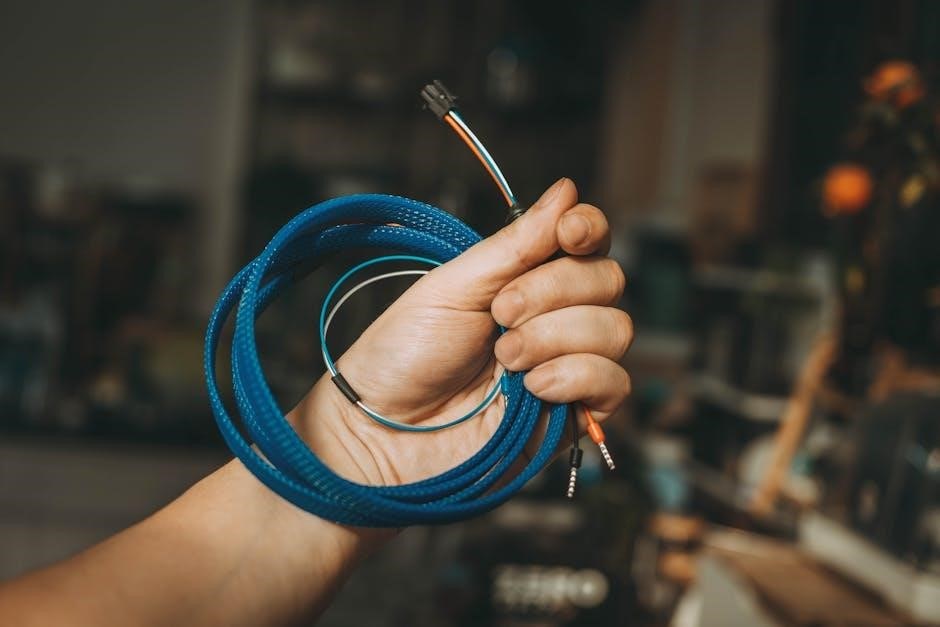
Before initiating the wiring process‚ carefully open the UWP’s door to reveal the designated wiring hole. This access point is strategically positioned to facilitate a seamless connection between the thermostat and your existing wiring system.
Ensure the power remains completely shut off at the breaker box or switch before proceeding. Gently pull the door open‚ providing ample space to maneuver the wires.
Insert the wires through this opening‚ taking care not to damage any internal components. The wiring hole is designed to accommodate standard thermostat wiring‚ ensuring a secure and reliable connection. Proper wire insertion is crucial for the thermostat’s functionality and safe operation.
Wire Insertion Procedure
With the UWP door open and power off‚ carefully feed the thermostat wires through the wiring hole. Ensure sufficient wire length is available within the UWP for secure terminal connections.
Gently guide the wires‚ avoiding any forceful pushing that could damage the internal components. Once the wires are through‚ prepare the wire ends by stripping approximately 1/4 inch of insulation.
Connect each wire to the corresponding terminal on the thermostat base‚ referencing the wiring diagram for your specific model. Securely tighten each terminal screw to ensure a firm and reliable connection. Double-check all connections before proceeding to the next step.
Wiring Diagram Reference (Specific Models)
Consult the detailed wiring diagrams provided in the installation instructions for your precise T4 Pro model. These diagrams illustrate the correct terminal connections for various heating and cooling system configurations.
Pay close attention to the wire colors and their corresponding functions – typically labeled as R‚ C‚ W‚ Y‚ and G. Incorrect wiring can lead to system malfunction or damage.
If you are unsure about any wiring connection‚ it is highly recommended to consult a qualified HVAC technician. Proper wiring is crucial for safe and efficient operation of your thermostat and connected heating/cooling equipment.
Thermostat Attachment
Secure the UWP to wall anchors using supplied screws‚ ensuring a firm fit. Tighten mounting screws carefully‚ avoiding overtightening to prevent damage.
Securing UWP to Wall Anchors
Before proceeding‚ confirm the UWP is correctly positioned and level against the wall. Carefully align the mounting holes in the UWP with the previously installed wall anchors.
Gently place the UWP over the anchors‚ ensuring a snug fit. Insert the supplied mounting screws – specifically‚ use three #8 1-1/2” screws – through the UWP’s mounting holes and into the wall anchors.
Begin tightening the screws‚ alternating between each one to distribute pressure evenly. Avoid overtightening‚ as this could strip the anchors or damage the UWP itself. The UWP should be firmly secured to the wall without any noticeable wobble or movement. A secure attachment is vital for long-term stability and accurate operation.
Mounting Screw Tightening
After inserting the #8 1-1/2” mounting screws through the UWP and into the wall anchors‚ careful tightening is essential. Alternate tightening each screw gradually‚ ensuring even pressure distribution. This prevents warping or misalignment of the UWP mounting plate.
Avoid excessive force; overtightening can strip the wall anchors or potentially crack the UWP’s plastic housing. The goal is a firm‚ secure hold – the UWP should not wobble or move when gently tested.
Confirm all screws are snug‚ but not strained. A properly tightened UWP provides a stable base for the thermostat‚ ensuring accurate readings and reliable operation for years to come.
Battery Installation
Two AA batteries power the T4 Pro‚ serving as both primary and backup power sources. Proper insertion ensures reliable operation and maintains settings during outages.
AA Battery Insertion
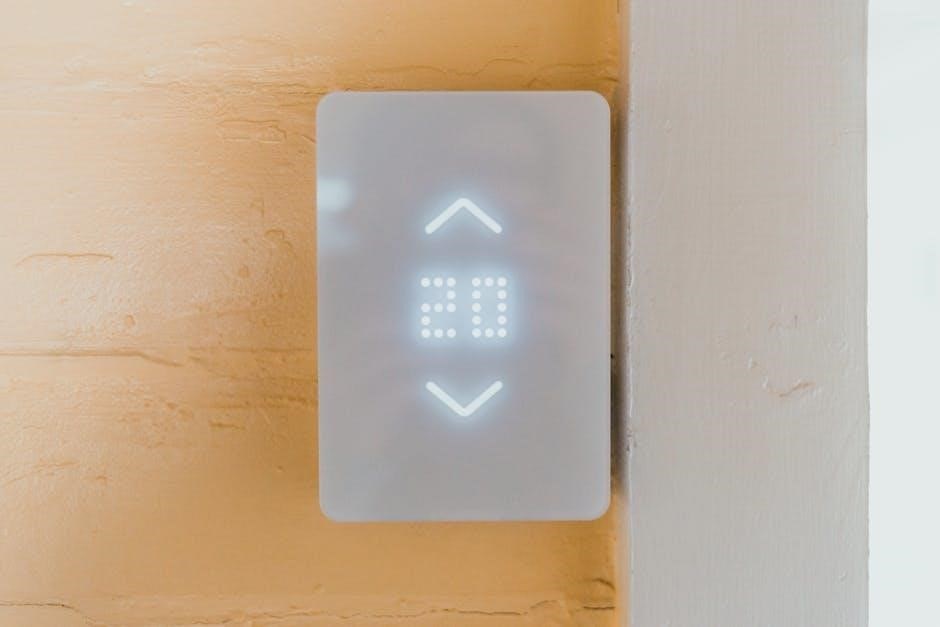
Begin by locating the battery compartment within the T4 Pro thermostat. Gently open the compartment door to reveal the battery slots. Insert the two supplied AA batteries‚ ensuring correct polarity – match the positive (+) and negative (-) ends as indicated inside the compartment.
A snug fit is essential for reliable contact. Once the batteries are in place‚ carefully close the battery compartment door until it clicks securely. The thermostat will then initiate a power-up sequence‚ displaying the initial screen. These batteries provide both primary power for operation and serve as a backup during power outages‚ preserving your programmed settings and time.
Always use new‚ high-quality AA batteries for optimal performance. Avoid mixing old and new batteries‚ or different battery types.
Primary vs. Backup Power
The T4 Pro thermostat utilizes a dual-power system for uninterrupted operation. Typically‚ the thermostat receives its primary power from the 24VAC wiring connected to your HVAC system. This ensures continuous functionality during normal conditions. However‚ in the event of a power outage‚ the thermostat seamlessly switches to battery backup.
The two AA batteries inserted earlier serve as this crucial backup‚ maintaining the thermostat’s settings‚ time‚ and programmed schedules. This prevents loss of configuration and allows the system to resume normal operation automatically once power is restored.
Consider the batteries as a safety net‚ ensuring your comfort isn’t disrupted by unexpected power failures.

Initial Setup & Configuration
Power on the thermostat and navigate the initial display settings. Connect to your Wi-Fi network to unlock remote access and advanced features for seamless control.
Powering On the Thermostat
After completing the wiring and battery installation‚ the T4 Pro thermostat is ready for initial power-up. Ensure the breaker is switched back on to restore power to the system. Upon powering on‚ the thermostat will initiate a self-test sequence‚ displaying the Honeywell logo and beginning the startup process.
The initial display will guide you through essential settings. This includes language selection‚ date and time configuration‚ and system type identification (heating‚ cooling‚ or heat pump). Carefully follow the on-screen prompts to accurately configure these settings. Accurate setup is vital for proper thermostat operation and scheduling.
Take note of any error messages displayed during startup‚ as they may indicate wiring issues or other problems requiring attention before proceeding.
Initial Display & Settings
Once powered on‚ the T4 Pro thermostat presents a user-friendly interface for initial configuration. The display will prompt you to select your preferred language‚ ensuring comfortable operation. Next‚ accurately set the current date and time; this is crucial for scheduling features.
The system type must be correctly identified – choose between heating‚ cooling‚ or heat pump. Incorrect selection will lead to improper system control. The thermostat may also ask about your fuel source (gas‚ electric‚ oil).
Carefully review each setting before confirming. These initial choices establish the foundation for personalized comfort and efficient energy management. Refer to the user manual for detailed explanations of each option.
Network Connection (Wi-Fi)
Connecting your T4 Pro thermostat to Wi-Fi unlocks remote access and advanced features. From the thermostat’s settings menu‚ navigate to the network options and select your Wi-Fi network from the available list. Enter your network password carefully‚ ensuring correct capitalization.
The thermostat will attempt to establish a connection. A successful connection is indicated by a Wi-Fi symbol on the display. If the connection fails‚ double-check your password and network signal strength.
Once connected‚ you can download the Honeywell Home app to control your thermostat remotely. This allows for convenient adjustments from anywhere with an internet connection‚ enhancing comfort and energy savings.

Troubleshooting Common Issues
Addressing power failures and mounting instability are key concerns. Verify breaker status and ensure secure screw tightening for a stable installation.
Power Failure Troubleshooting
If the T4 Pro thermostat experiences a power failure‚ begin by verifying the circuit breaker hasn’t tripped; Reset the breaker if necessary and confirm power is restored to the thermostat’s wiring.
Next‚ check the AA batteries. These provide backup power‚ ensuring the thermostat retains settings during outages. Replace batteries if they are depleted or nearing their end of life.
Ensure all wiring connections are secure‚ both at the thermostat and within the junction box. Loose connections can interrupt power flow. If the issue persists‚ consult a qualified HVAC technician to diagnose potential wiring problems or thermostat malfunctions.
Remember to always turn off power at the breaker before inspecting wiring!
Mounting Instability Solutions
If the UWP mounting system feels unstable‚ first ensure the junction box adapter is securely fastened to the wall. Verify all eight screw holes are utilized‚ and screws are tightened – but not overtightened – to avoid stripping.
Confirm the adapter plate is level. An uneven surface can cause the UWP to wobble. Use a level to adjust before fully tightening screws.
If mounting to drywall‚ ensure the wall anchors are fully and correctly inserted. For drywall‚ use 7/32” drill bits for proper anchor fit. If instability continues‚ consider using longer screws or additional anchors for enhanced support.
Double-check the UWP is properly snapped onto the adapter.

Advanced Settings & Features
Explore programming schedules for customized comfort and configure remote access for convenient control of your T4 Pro thermostat from anywhere.
Programming Schedules
The T4 Pro allows for customized heating and cooling schedules to optimize comfort and energy savings. Users can create unique programs for each day of the week‚ tailoring temperatures to their specific needs and routines.
Programming involves setting different temperature setpoints for various time periods throughout the day – such as wake‚ leave‚ return‚ and sleep. This ensures the thermostat automatically adjusts to provide optimal comfort when occupied and conserves energy when the space is empty.
The thermostat interface provides an intuitive way to create and modify these schedules‚ offering flexibility and control over your home’s climate. Detailed instructions within the user manual guide users through the process‚ enabling them to maximize the benefits of scheduled programming.
Remote Access Configuration
The T4 Pro offers remote access capabilities‚ allowing users to control their home’s temperature from anywhere with an internet connection. This feature requires connecting the thermostat to your home’s Wi-Fi network during the initial setup process.
Once connected‚ users can download the Honeywell Home app to their smartphone or tablet. Through the app‚ you can adjust temperature settings‚ view current conditions‚ and manage schedules remotely.
The app provides a convenient and user-friendly interface for controlling your thermostat‚ even when you’re away from home. Detailed instructions within the manual guide users through the configuration process‚ ensuring a secure and reliable remote access experience.